

The main and most useful tool that I used for this was the spot healing brush that, like magic, easily gets rid of certain damage to photos like discoloring, watermarks, scratches and bends. This tool can be used in a very precise area like parts of the jacket or over large areas in the background. Another tool used was the paint brush that had the ability to mimic the color of an area and allow you to color another part that color. This tool is extremely useful when trying to restore finer details like the eyes or the eye brows because the healing brush would simply blend the colors together and make such areas look distorted and messy. Next time I might try to see the difference in trying to use the spot healing brush to restore an area like a crease vs. using the paint brush. The most challenging part of the project was trying to use the spot healing brush on the borders of the picture. For some reason the border would turn a darkish brown color when I used that tool so along the border I had to color that myself with the paint brush. This has definitely been the most useful Photoshop that I've done because my mom is already asking me to restore several old pictures so that she can send them to people restored and now I have the ability to do so.


 angle down
 perspective
 frame in a frame
 reflection
 texture
 Rule of Thirds
 Shadow
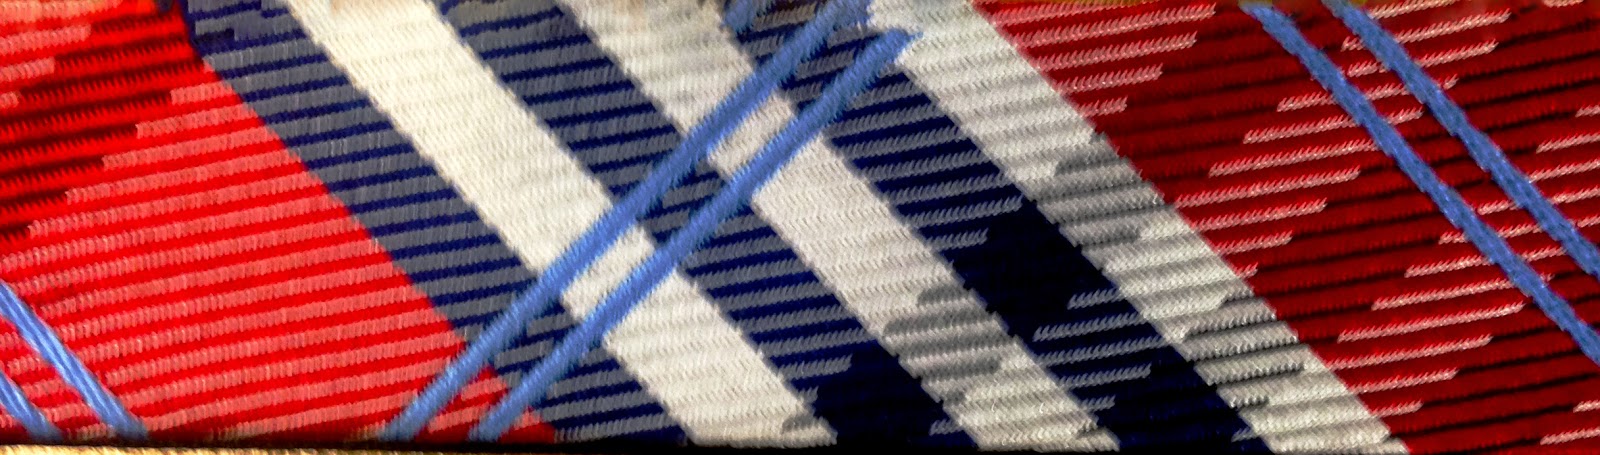 Pattern
  Side Lighting

 angle up
